静态资源管理
application.properties
spring.mvc.static-path-pattern=/static/**
spring.web.resources.static-locations=classpath:/static/
spring.web.resources.static-locations默认是classpath:/static/,就是这个:
当然你可以自定义
spring.mvc.static-path-pattern 是定义的虚拟路径,没有定义的话默认/,也就是可以直接输入静态资源的文件名来访问spring.web.resources.static-locations里的文件
比如说我这样设置
spring.mvc.static-path-pattern=/static/**
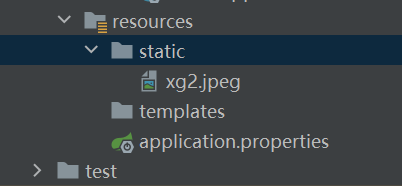
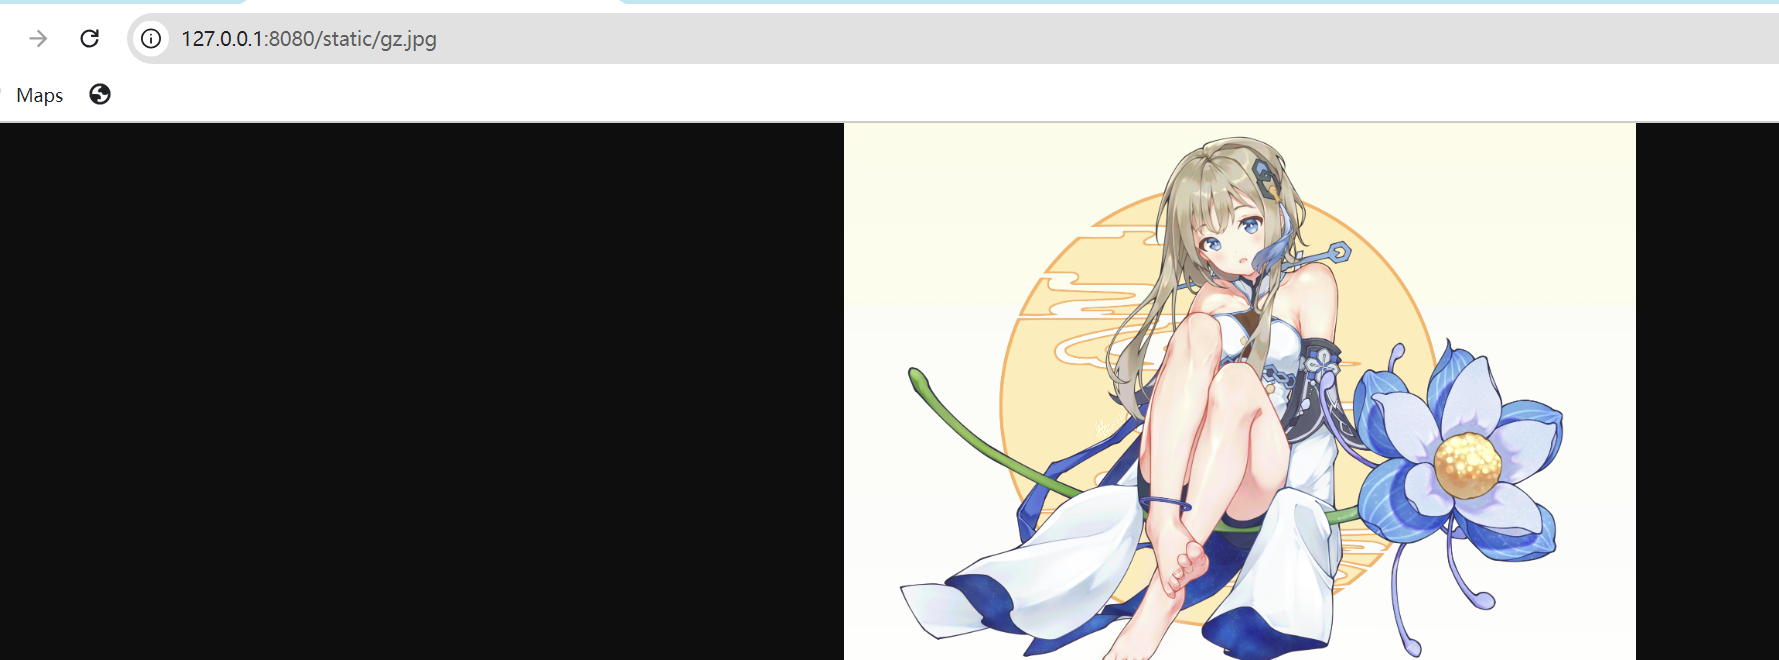
spring.web.resources.static-locations=classpath:/static/static放了张这样的图
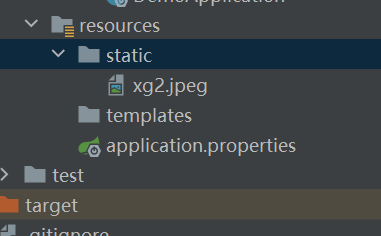
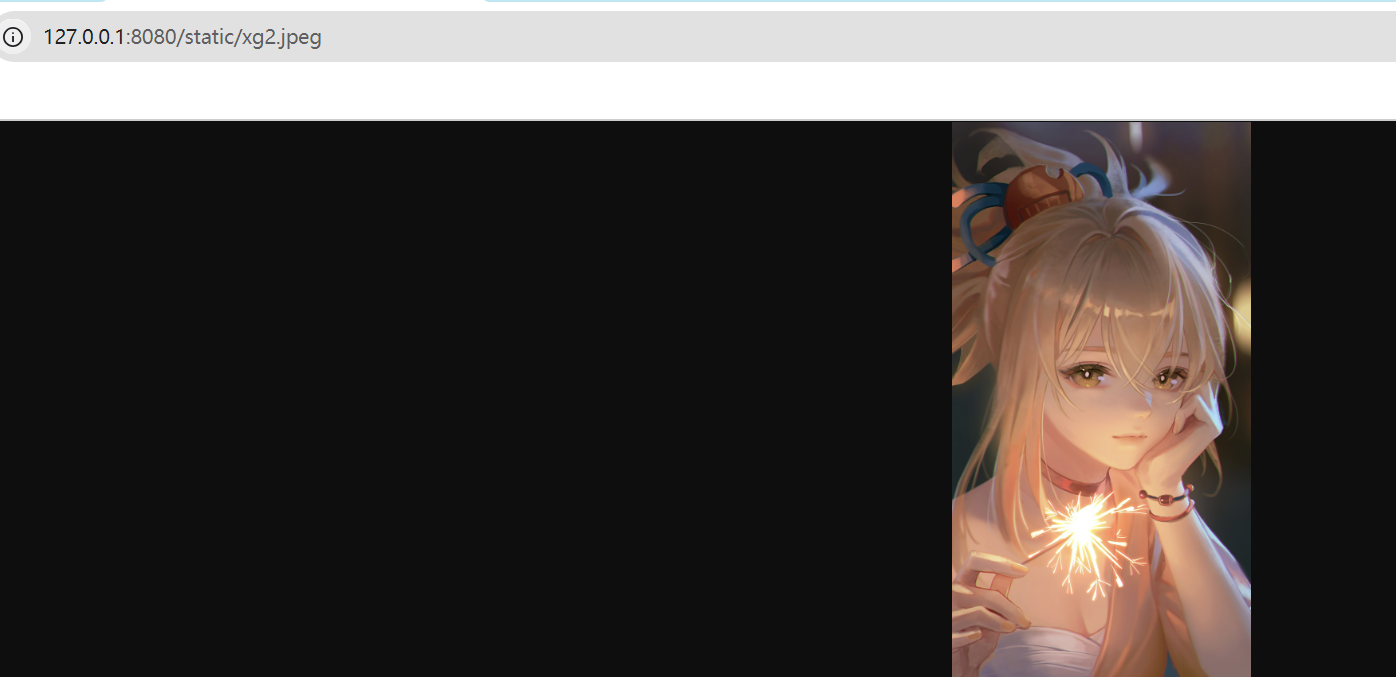
需要这样使用虚拟路径(spring.mvc.static-path-pattern)+文件名才能访问到
文件上传
springboot内置的tomcat默认上传文件最大值10M
application.properties

package com.example.demo.controller;
import org.springframework.web.bind.annotation.RequestMapping;
import org.springframework.web.bind.annotation.RequestMethod;
import org.springframework.web.bind.annotation.RestController;
import org.springframework.web.multipart.MultipartFile;
import javax.servlet.http.HttpServletRequest;
import java.io.File;
import java.io.IOException;
@RestController
public class FileUploadController {
@RequestMapping(value = "/upload",method = RequestMethod.POST)
public String upload(String nickname, MultipartFile photo, HttpServletRequest request) throws IOException {
System.out.println(nickname);
// 文件原始名称
System.out.println(photo.getOriginalFilename());
// 文件类型
System.out.println(photo.getContentType());
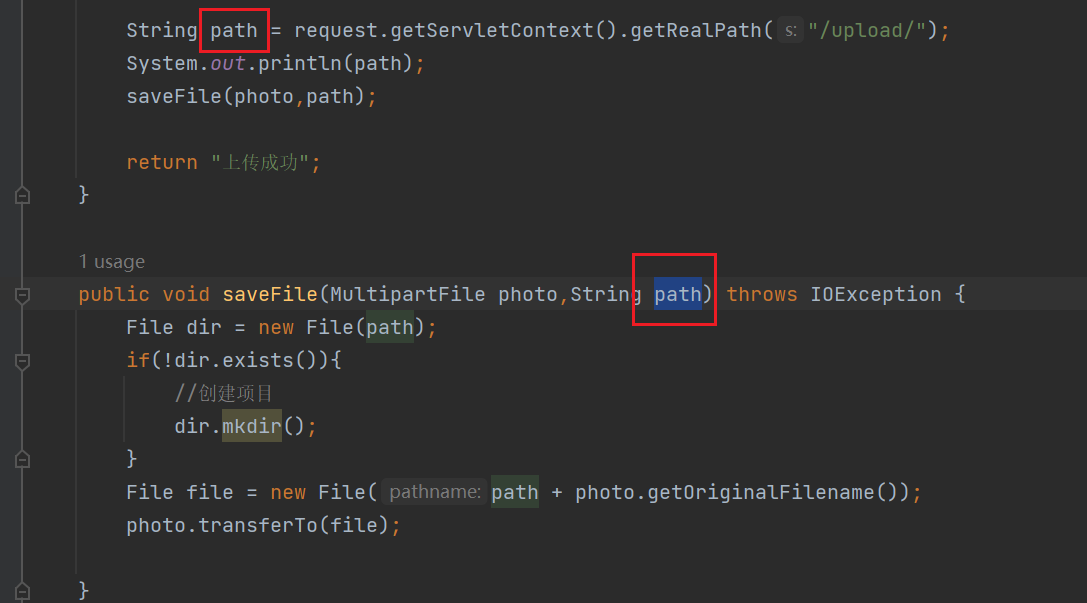
String path = request.getServletContext().getRealPath("/upload/");
System.out.println(path);
saveFile(photo,path);
return "上传成功";
}
public void saveFile(MultipartFile photo,String path) throws IOException {
File dir = new File(path);
if(!dir.exists()){
//创建项目
dir.mkdir();
}
File file = new File(path + photo.getOriginalFilename());
photo.transferTo(file);
}
}
可以用postman测一测
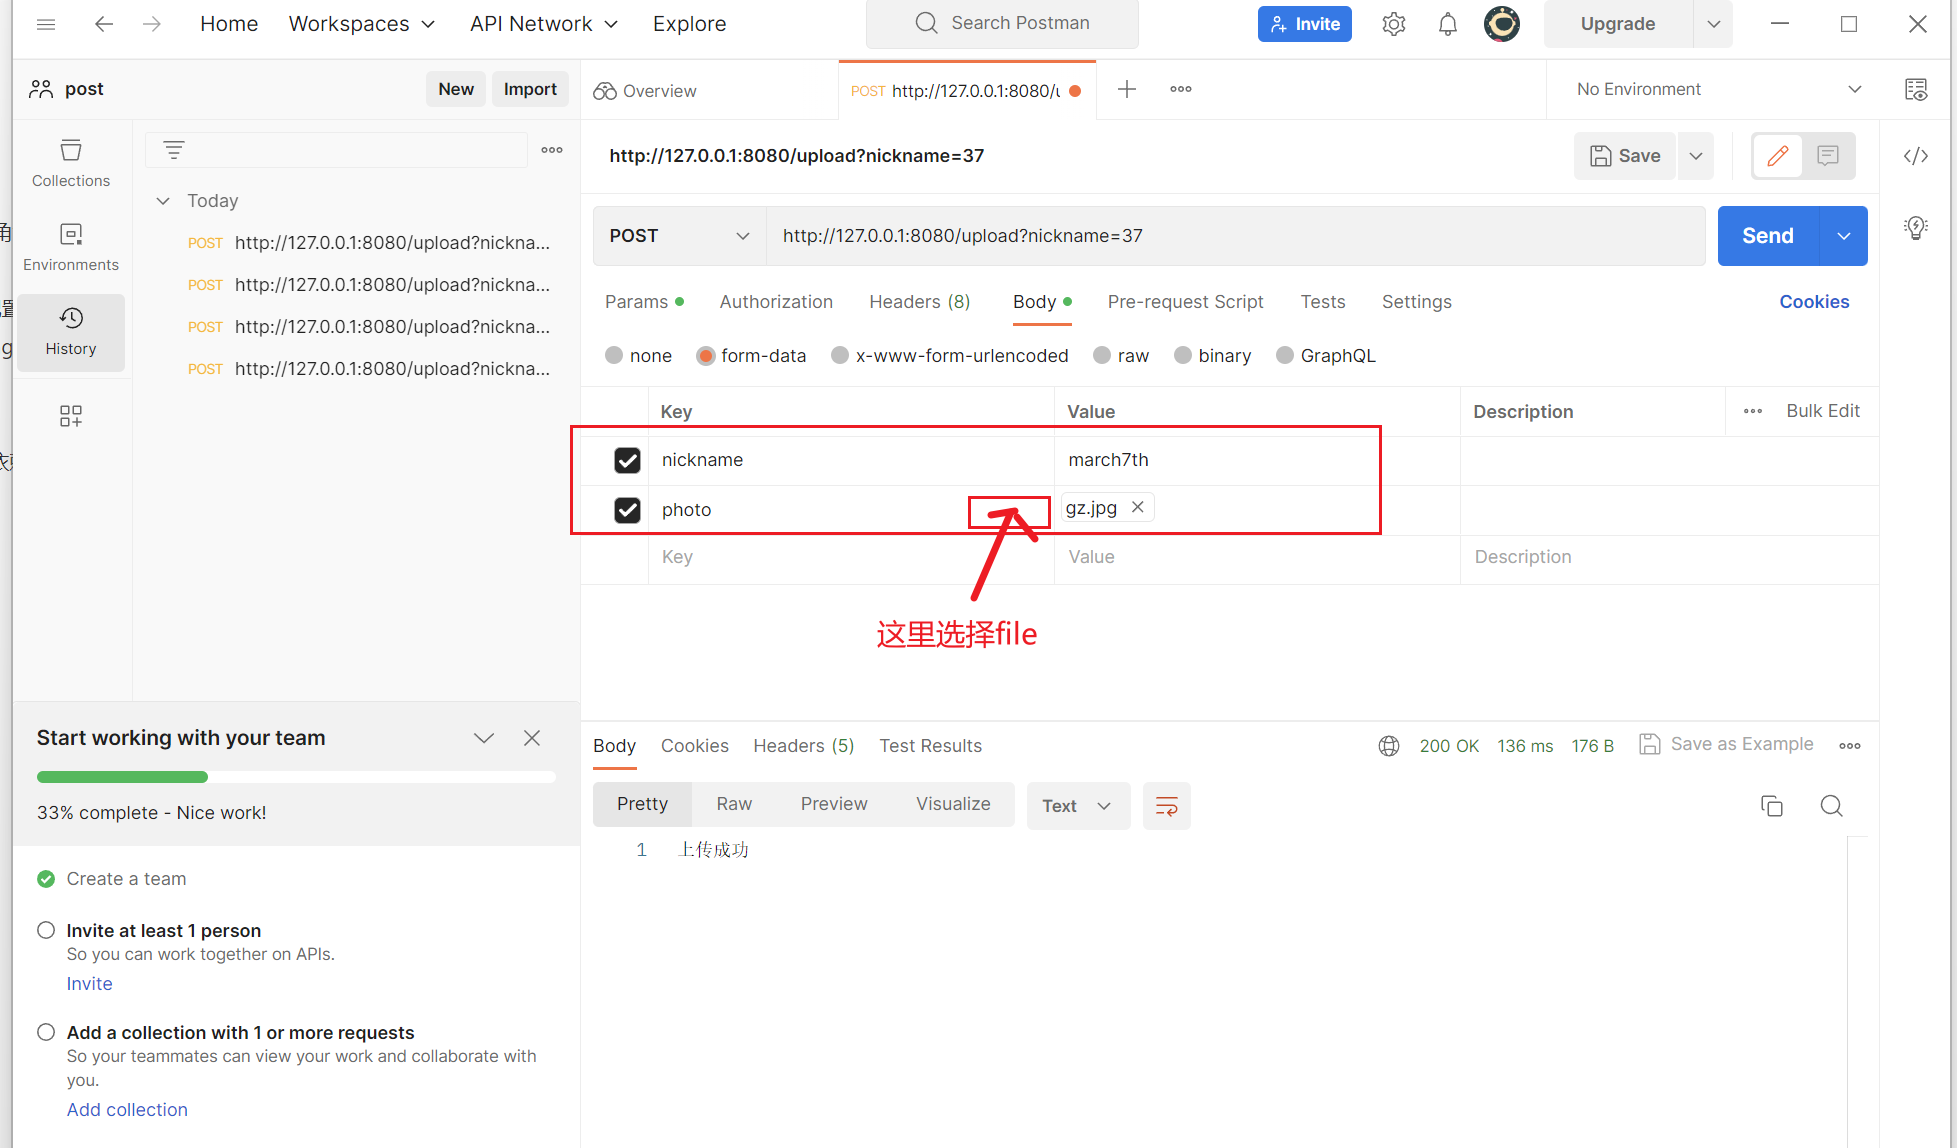
上传成功

如果想要改变upload前面的路径,可以被用户访问的话,可以在application中修改
spring.mvc.static-path-pattern=/static/**
spring.web.resources.static-locations=/upload/
和之前的静态路径类似,这里是把/upload(注意没加classpath,classpath是src目录下的,没加的情况是在tomcat的环境下)映射到虚拟路径/static
可以看到
成功访问
如果仔细看的话,会发现这个目录其实是一个会变化的目录,所以要多上传几遍,不然找不到图片路径了

这个开发的时候会变,部署服务器后就固定了
如果嫌麻烦可以把这个路径写死
当然学安全的同学都知道写在/tmp目录下是比较符合安全规范的(当然部署程序的时候肯定还得变)
拦截器
功能:
- 权限检查。检测是否登录了,未登录则返回到登录界面
- 性能监测。找出某段程序的处理时间
- 通用行为。读取cookie并将用户对象放入请求
spring boot 定义了 HandlerInterceptor 接口来实现自定义拦截器的功能
preHandle、postHandle、afterCompletion三种方法
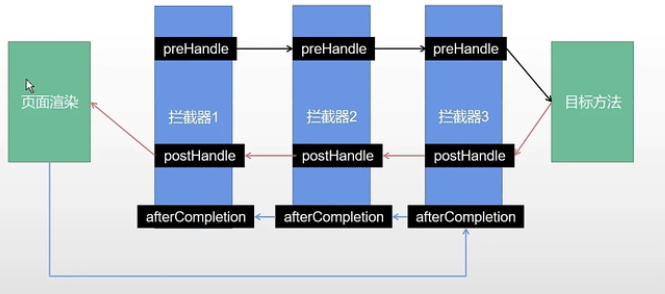
请求过来先经过拦截器(preHandle),再到控制器,最后回到拦截器(postHandle),页面渲染的时候也会用到拦截器(afterCompletion)
拦截器
public class LoginInterceptor implements HandlerInterceptor {
@Override
public boolean preHandle(HttpServletRequest request, HttpServletResponse response, Object handler) throws Exception{
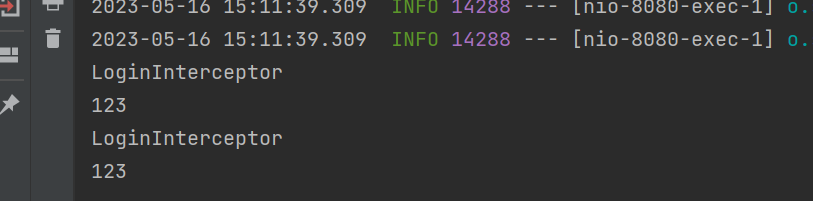
System.out.println("LoginInterceptor");
return true;
}
}继承HandlerInterceptor,重写preHandle
但是这样还未失效,我们需要增加配置
package com.example.demo.config;

import com.example.demo.interceptor.LoginInterceptor;
import org.springframework.context.annotation.Configuration;
import org.springframework.web.servlet.config.annotation.InterceptorRegistry;
import org.springframework.web.servlet.config.annotation.WebMvcConfigurer;

@Configuration
public class WebConfig implements WebMvcConfigurer {

    @Override
    public void addInterceptors(InterceptorRegistry registry){
        registry.addInterceptor(new LoginInterceptor()).addPathPatterns("/user/**");
    }
}
添加配置后生效(必须添加@Configuration并且继承WebMvcConfigurer实现addInterceptors方法)
假如不加上.addPathPatterns("/user/**");的话呢,所有资源都会被其拦截
我把它删去了,试访问一下
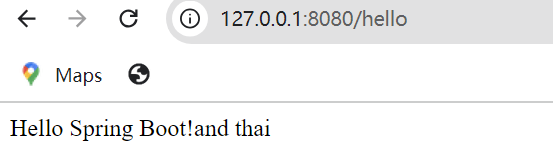
拦截成功

restful风格
RESTFUL是一种网络应用程序的设计风格和开发方式,基于HTTP,可以使用 XML 格式定义或 JSON 格式定义。最常用的数据格式是JSON。由于JSON能直接被JavaScript读取,所以,使用JSON格式的REST风格的API具有简单、易读、易用的特点。
| 请求方式 | 含义 |
|---|---|
| GET(SELECT) | 从服务器取出资源(一项或多项) |
| POST(CREATE) | 在服务器新建一个资源 |
| PUT(UPDATE) | 在服务器更新资源(更新完整资源) |
| PATCH(UPDATE) | 在服务器更新资源, PATCH更新个别属性 |
| DELETE(DELETE) | 从服务器删除资源 |
其实前面这些都是概念性的东西,下面这个是真正restful和传统uri请求的差异
【1】查询
| 查询 | 传统 | restful | 代码demo |
|---|---|---|---|
| 查询所有 | http://localhost:8080/employee/list | http://localhost:8080/employees | @RequestMapping(value = “/employees”, method = RequestMethod.GET) |
| 查询单个 | http://localhost:8080/employee/list?id=1 | http://localhost:8080/employees/1 | @RequestMapping(value = “/employees/{id}”, method = RequestMethod.GET)br/>@ResponseBody public Employee queryById(@PathVariable Long id) {} |
【2】添加
| 添加 | 传统 | restful | 代码demo |
|---|---|---|---|
| 添加单个 | http://localhost:8080/employee/add | http://localhost:8080/employees | @RequestMapping(value = “/employees”, method = RequestMethod.POST) public Employee add(@ModelAttribute(“emp”) Employee employee) {} |
【3】修改
| 添加 | 传统 | restful | 代码demo |
|---|---|---|---|
| 添加单个 | http://localhost:8080/employee/add | http://localhost:8080/employees | @RequestMapping(value = “/employees”, method = RequestMethod.POST) public Employee add(@ModelAttribute(“emp”) Employee employee) {} |
【4】删除
| 删除 | 传统 | restful | 代码demo |
|---|---|---|---|
| 删除单个 | http://localhost:8080/employee/delete | http://localhost:8080//employees/{id} | @RequestMapping(value = “/employees/{id}”, method = RequestMethod.DELETE)br/>@ResponseBody public JsonResult delete(@PathVariable Long id) {} |
注意:
【1】当参数非常多的时候,不建议使用参数路径方式;
【2】如果参数名非常敏感,建议使用参数路径方式,可以隐藏参数名。
原文链接:https://blog.csdn.net/zzvar/article/details/118164133
比如我们写个测试demo
package com.example.demo.controller;
import org.springframework.web.bind.annotation.*;
@RestController
public class UserController {
@GetMapping("/user/{id}")
public String getUserById(@PathVariable int id){
System.out.println(id);
return "根据ID获取用户信息";
}
@PostMapping("/user")
public String save(User user){
return "添加用户";
}
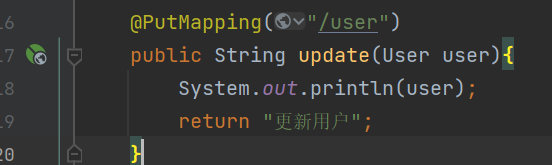
@PutMapping("/user")
public String update(User user){
return "更新用户";
}
public String deleteById(@PathVariable int id){
System.out.println(id);
return "根据ID删除用户";
}
}
get请求一下 http://127.0.0.1:8080/user/123
然后可以用post测一下PUT请求的restful api
我稍微改了一下,打印我传入的参数
随后我们尝试传入
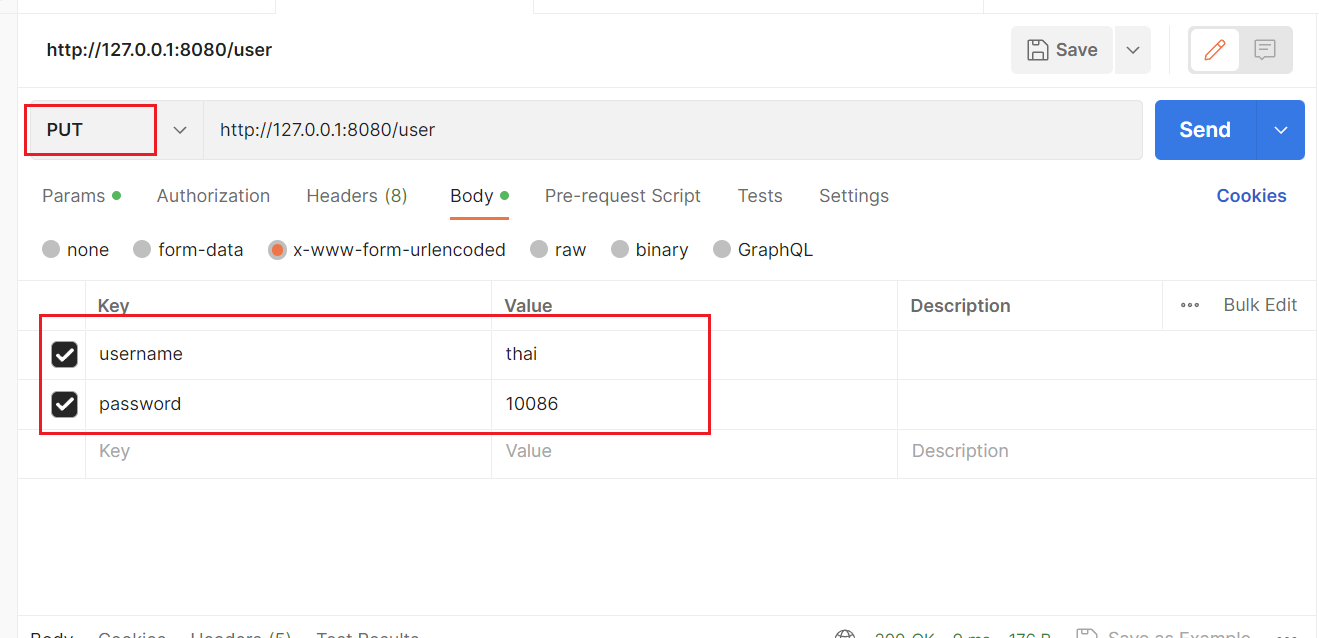
可以看到后端成功的回显了

swagger
就是一个可以通过前端直接调用到相应api的小工具
pom.xml
        <dependency>
            <groupId>io.springfox</groupId>
            <artifactId>springfox-swagger2</artifactId>
            <version>2.9.2</version>
        </dependency>
        <dependency>
            <groupId>io.springfox</groupId>
            <artifactId>springfox-swagger-ui</artifactId>
            <version>2.9.2</version>
        </dependency>
SwaggerConfig
package com.example.demo.config;

import org.springframework.context.annotation.Bean;
import org.springframework.context.annotation.Configuration;
import springfox.documentation.builders.ApiInfoBuilder;
import springfox.documentation.builders.PathSelectors;
import springfox.documentation.builders.RequestHandlerSelectors;
import springfox.documentation.service.ApiInfo;
import springfox.documentation.spi.DocumentationType;
import springfox.documentation.spring.web.plugins.Docket;
import springfox.documentation.swagger2.annotations.EnableSwagger2;

@Configuration   // 告诉spring这是一个配置类
@EnableSwagger2     // 启动swagger的功能

public class SwaggerConfig {

    /**
     * 配置swagger2相关的bean
     * @return
     */
    @Bean
    public Docket createRestApi(){
        return new Docket(DocumentationType.SWAGGER_2)
                .apiInfo(apiInfo())
                .select()
                .apis(RequestHandlerSelectors.basePackage("com"))
                .paths(PathSelectors.any()).build();
    }

    /**
     * 此处主要是API文档页面的相关显示信息
     */
    private ApiInfo apiInfo(){
        return new ApiInfoBuilder()
                .title("演示项目API")
                .description("演示项目")
                .version("1.0")
                .build();
    }

}

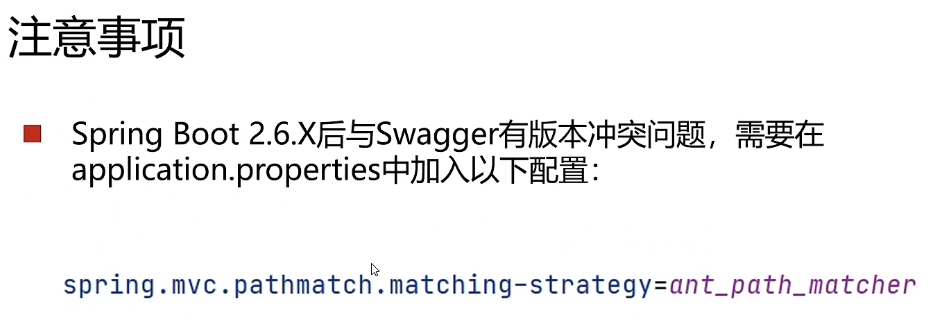
spring.mvc.pathmatch.matching-strategy=ant_path_matcher可能是因为版本问题吧,访问 /swagger-ui.html 后404
MyBatis
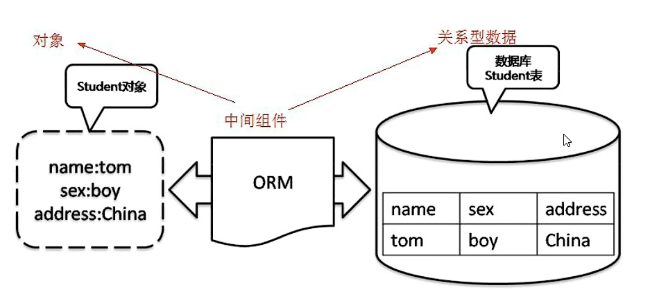
ORM: 又称为对象关系映射,用于处理数据库交互,orm的本质就是简化编程中操作数据库的编码
java后端 --- orm --- 数据库 (举例就是php的pdo框架,java的MyBatis)
Mybatis
Mybatis是一个优秀的ORM
MybatisPlus
MybatisPlus是基于Mybatis的
建议直接新建一个project再弄
添加依赖
pom.xml
        <!-- MybatisPlus依赖 -->
        <dependency>
            <groupId>com.baomidou</groupId>
            <artifactId>mybatis-plus-boot-starter</artifactId>
            <version>3.4.2</version>
        </dependency>
        <!-- mysql -->
        <dependency>
            <groupId>mysql</groupId>
            <artifactId>mysql-connector-java</artifactId>
            <version>5.1.47</version>
        </dependency>
        <!-- 数据库连接池 -->
        <dependency>
            <groupId>com.alibaba</groupId>
            <artifactId>druid-spring-boot-starter</artifactId>
            <version>1.1.20</version>
        </dependency>
配置项
application.properties
spring.datasource.type=com.alibaba.druid.pool.DruidDataSource
spring.datasource.driver-class-name=com.mysql.jdbc.Driver
spring.datasource.url=jdbc:mysql://localhost:3306/数据库名?useSSL=false
spring.datasource.username=root
spring.datasource.password=yourpasswd
mybatis-plus.configuration.log-impl=org.apache.ibatis.logging.stdout.StdOutImpl
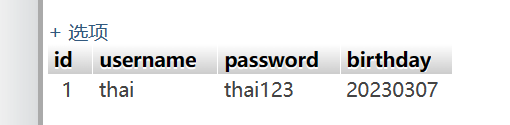
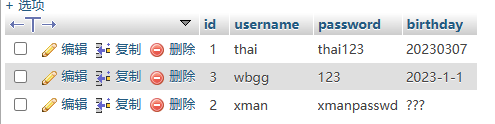
然后你需要自行建一个mysql及其某某数据表
比如下面
接下来是一个比较复杂的环节orm编程环节,虽然代码量并不大
我们需要创建三个Java文件,其中UserMapper是interface类,其他都是普通类,以下是他的们设计理念
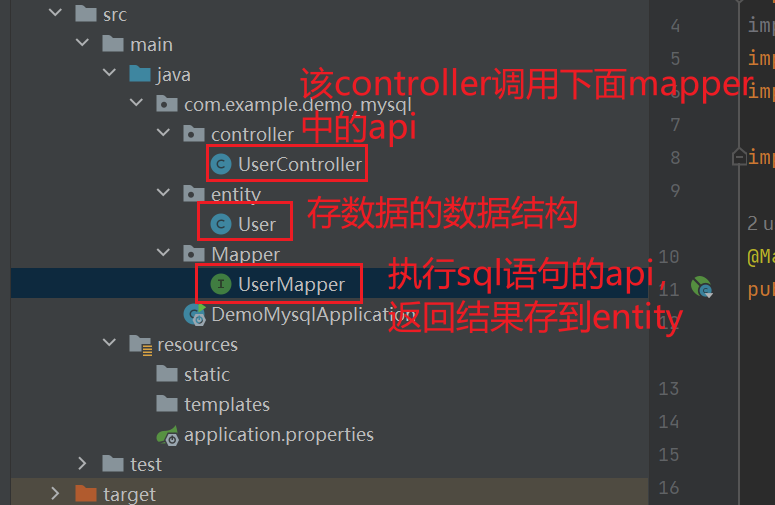
Controller处理用户的路由,然后调用Mapper,Mapper则将mysql返回的数据存储到User这个数据结构,最后通过Controller返回
user
package com.example.demo_mysql.entity;

public class User {
    private int id;
    private String username;
    private String password;
    private String birthday;

    public int getId() {
        return id;
    }

    public void setId(int id) {
        this.id = id;
    }

    public String getUsername() {
        return username;
    }

    public void setUsername(String username) {
        this.username = username;
    }

    public String getPassword() {
        return password;
    }

    public void setPassword(String password) {
        this.password = password;
    }

    public String getBirthday() {
        return birthday;
    }

    public void setBirthday(String birthday) {
        this.birthday = birthday;
    }

    @Override
    public String toString() {
        return "User{" +
                "id=" + id +
                ", username='" + username + '\'' +
                ", password='" + password + '\'' +
                ", birthday='" + birthday + '\'' +
                '}';
    }
}
这个是一个用于存储数据的数据结构,我们为了规范化数据和减少代码量,写了一个和mysql表的字段一一对应的数据结构(可以alt+insert快速填充get set方法),
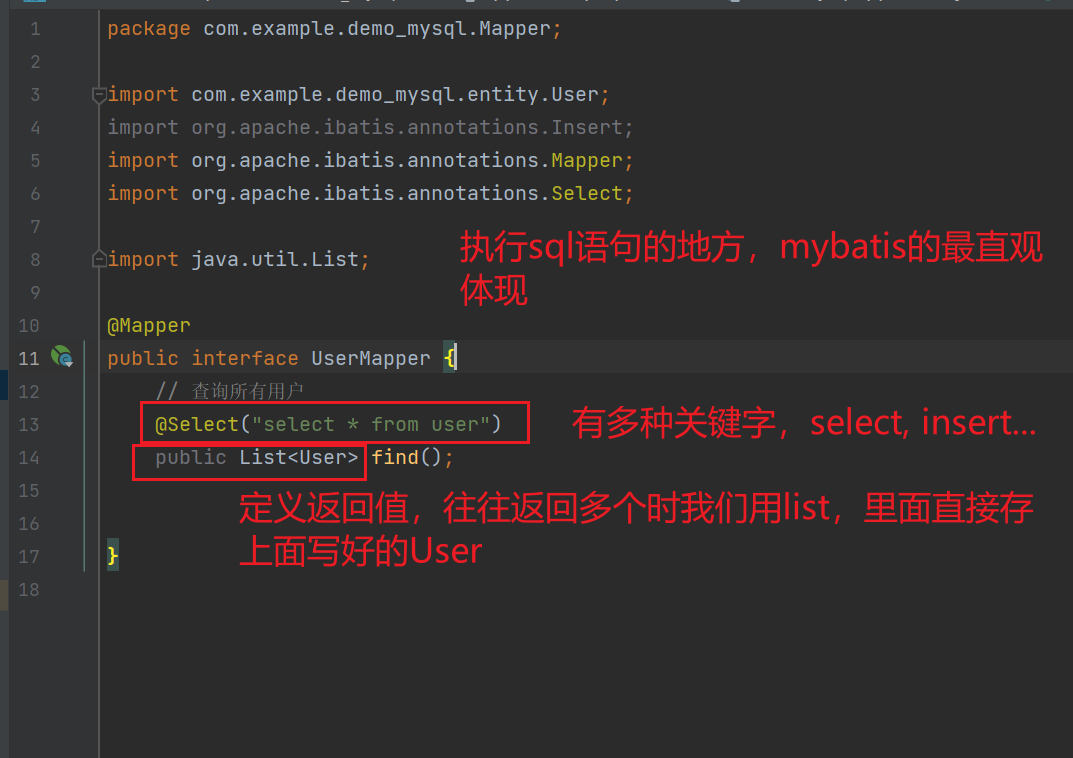
UserMapper
package com.example.demo_mysql.Mapper;

import com.example.demo_mysql.entity.User;
import org.apache.ibatis.annotations.Insert;
import org.apache.ibatis.annotations.Mapper;
import org.apache.ibatis.annotations.Select;

import java.util.List;

@Mapper
public interface UserMapper {
    // 查询所有用户
    @Select("select * from user")
    public List<User> find();

}
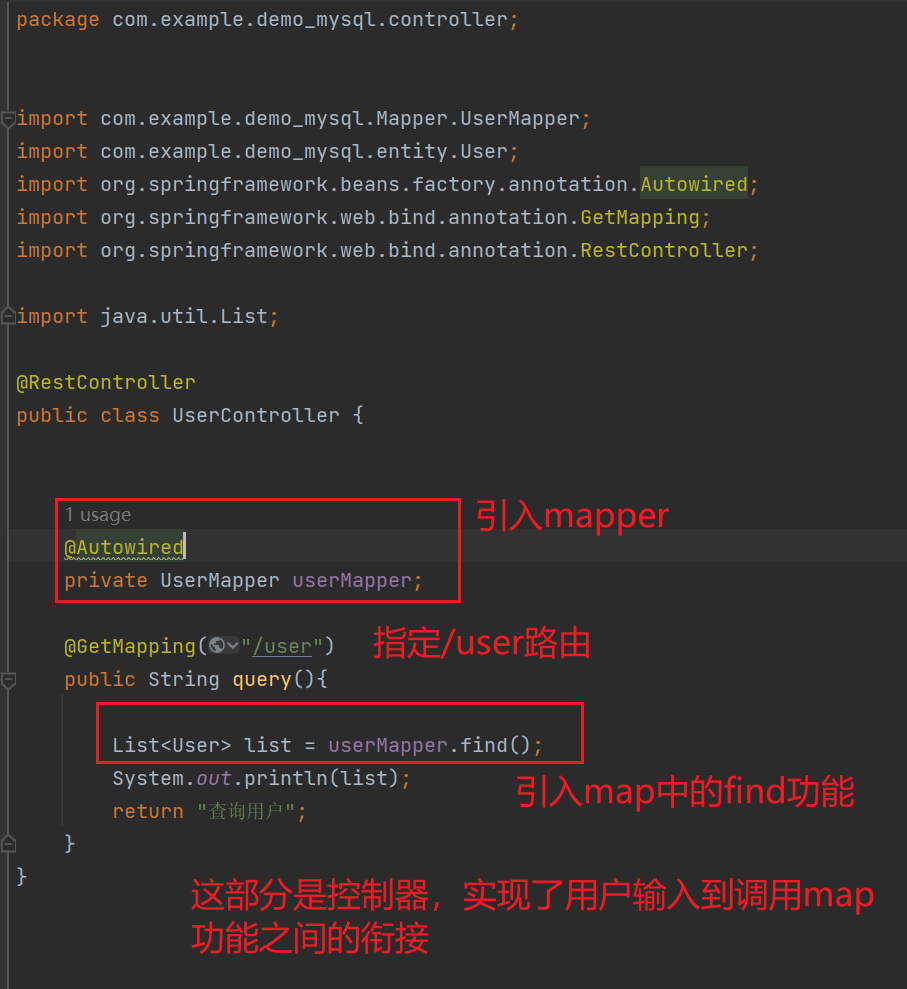
UserController
package com.example.demo_mysql.controller;
import com.example.demo_mysql.Mapper.UserMapper;
import com.example.demo_mysql.entity.User;
import org.springframework.beans.factory.annotation.Autowired;
import org.springframework.web.bind.annotation.GetMapping;
import org.springframework.web.bind.annotation.RestController;
import java.util.List;
@RestController
public class UserController {
@Autowired
private UserMapper userMapper;
@GetMapping("/user")
public String query(){
List<User> list = userMapper.find();
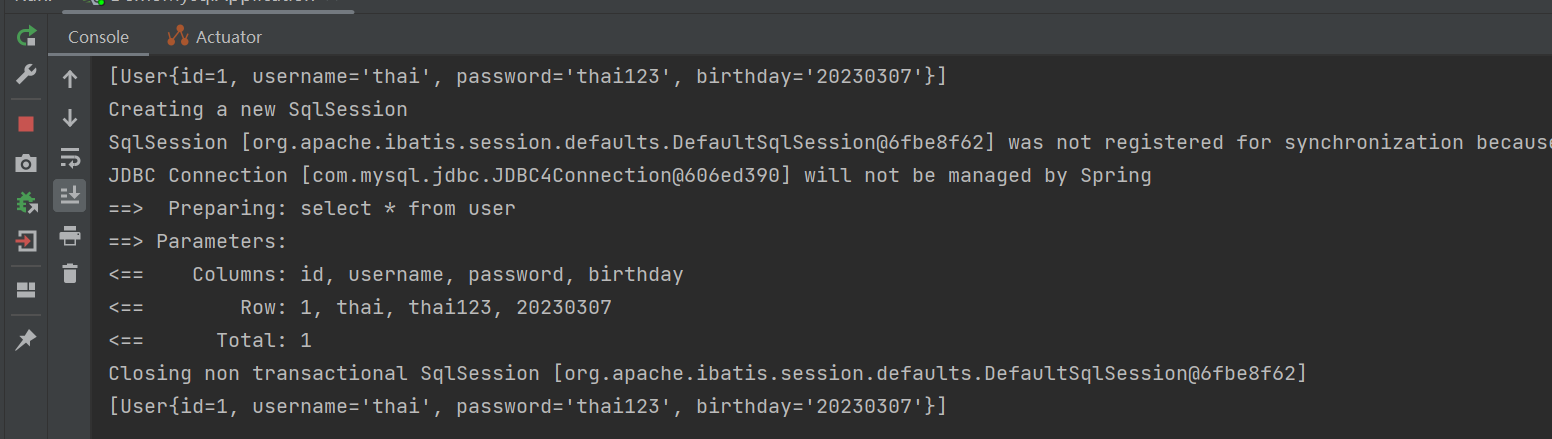
System.out.println(list);
return "查询用户";
}
}
尝试访问
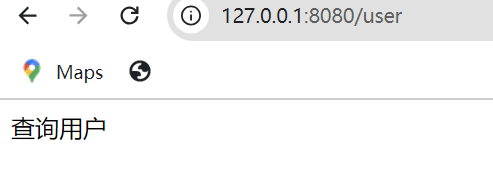
成功
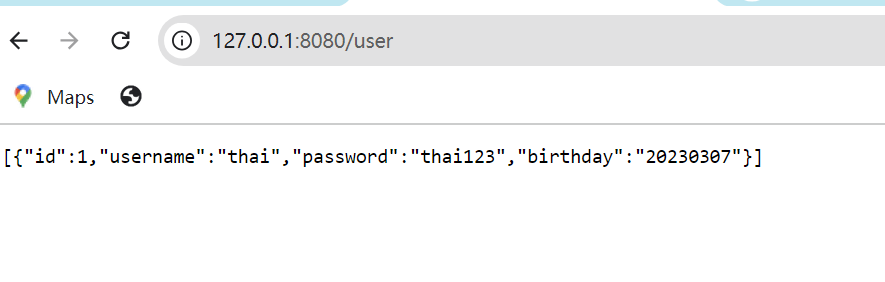
但是前端往往需要后端返回一个json格式的值,所以需要我们做一些处理:
把controller返回的string修改为list属性
    @GetMapping("/user")
    public List query(){

        List<User> list = userMapper.find();
        System.out.println(list);
        return list;
    }
自动返回

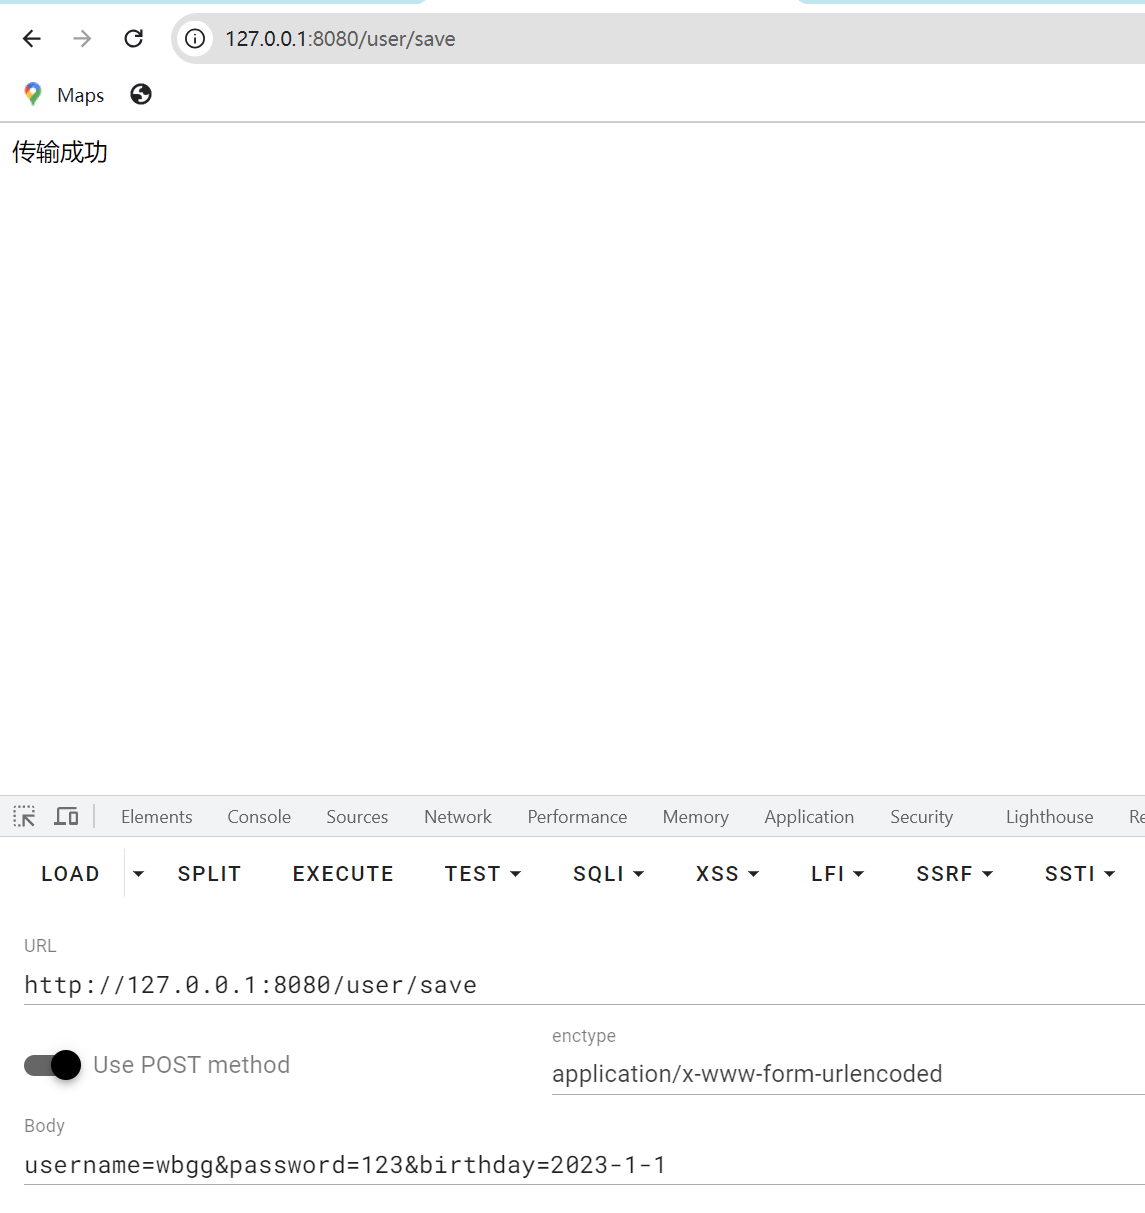
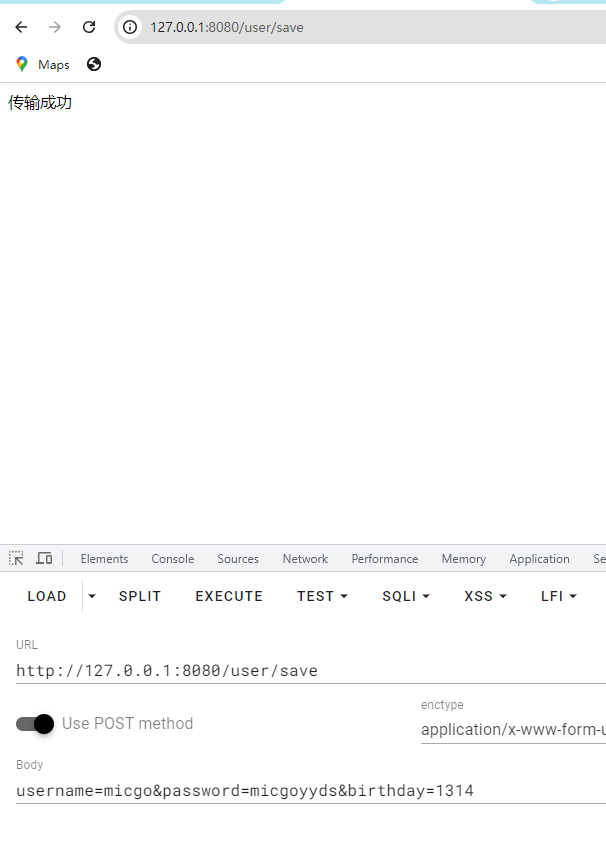
插入
    @Insert("insert into user values(#{id},#{username},#{password},#{birthday})")
    public int insert(User user);
@PostMapping("/user/save")
public String save(User user){
int flag = userMapper.insert(user);
if(flag > 0){
return "传输成功";
}else{
return "插入失败";
}
}
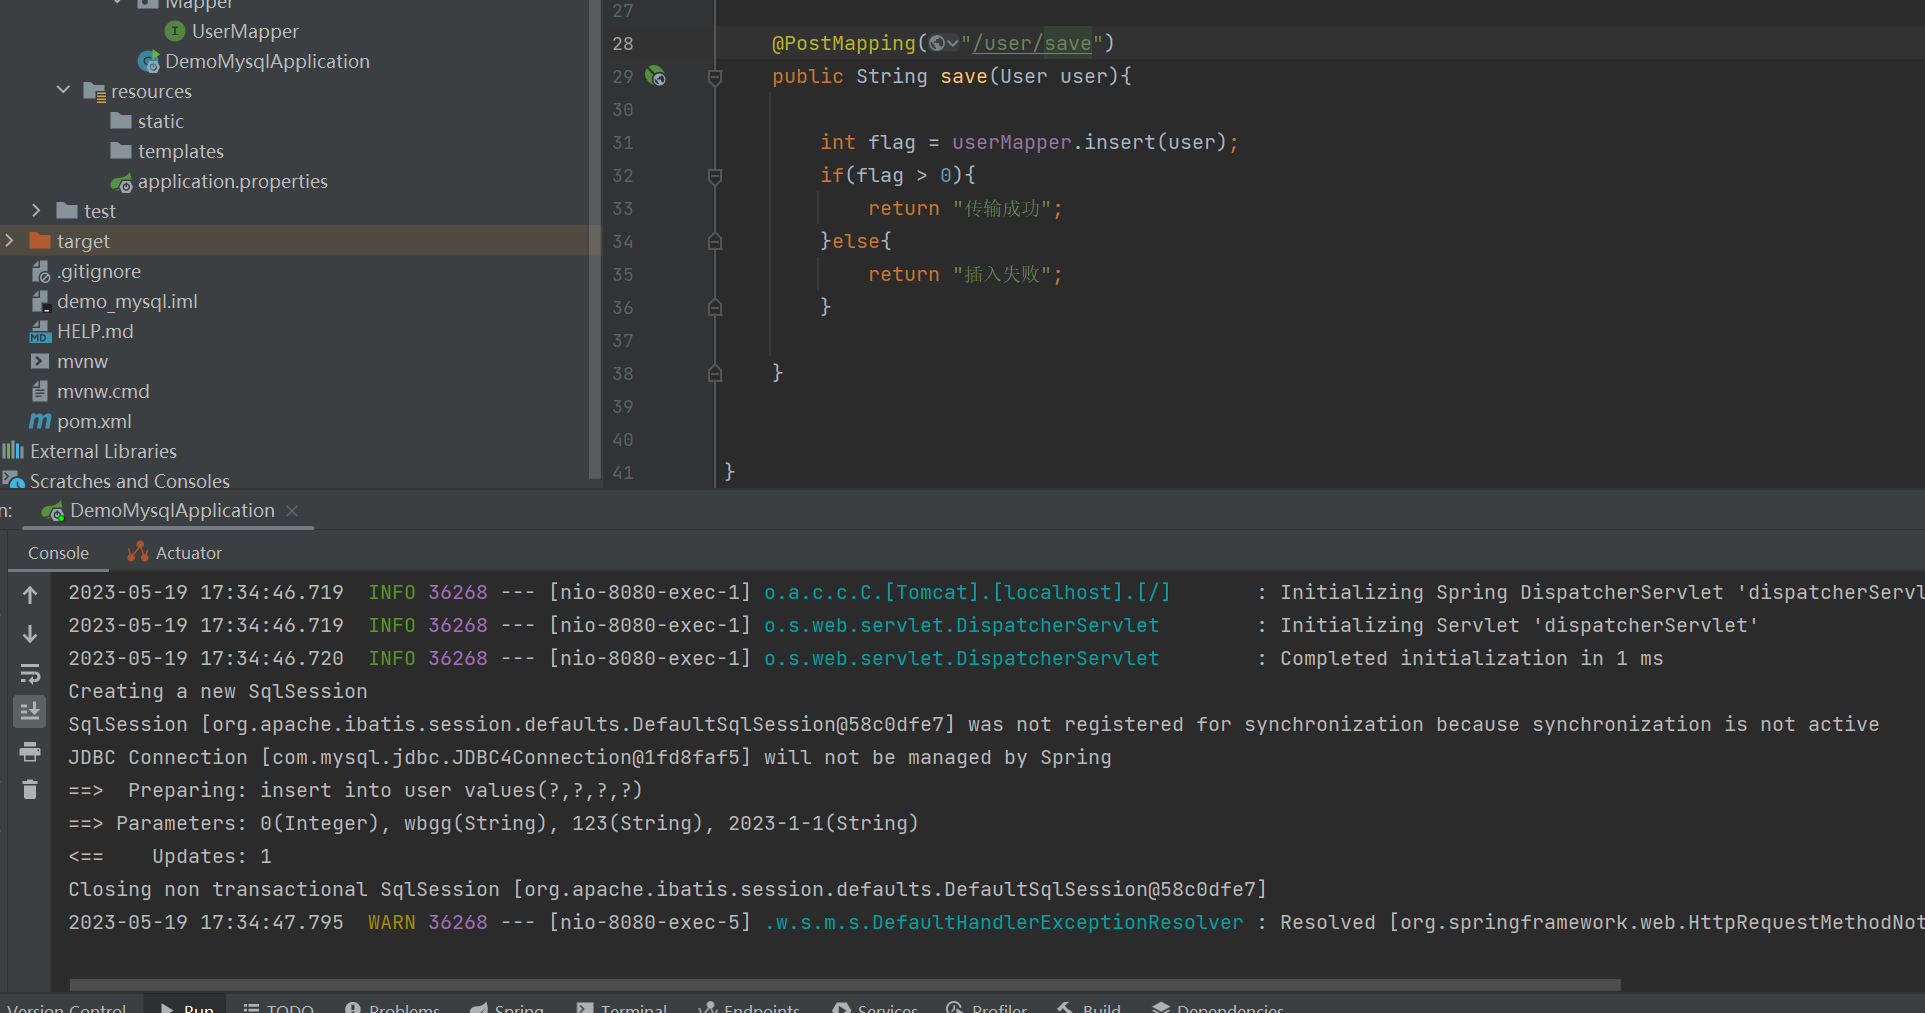

但实际中这个id我们往往把它设置为主键,然后自增,这样的话就可以不用设置插入的id值
MyBatisPlus
简介 | MyBatis-Plus (baomidou.com)
上面演示的MyBatis,这里介绍MyBatisPlus,MyBatisPlus已经写好了一个具备增删查改功能的接口,继承后我们可以减少代码量
继承前 MyBatis
@Mapper
public interface UserMapper {
    // 查询所有用户
    @Select("select * from user")
    public List<User> find();

    @Insert("insert into user values(#{id},#{username},#{password},#{birthday})")
    public int insert(User user);

}
继承后 MyBatisPlus
package com.example.demo_mysql.Mapper;

import com.baomidou.mybatisplus.core.mapper.BaseMapper;
import com.example.demo_mysql.entity.User;
import org.apache.ibatis.annotations.Insert;
import org.apache.ibatis.annotations.Mapper;
import org.apache.ibatis.annotations.Select;

import java.util.List;

@Mapper
public interface UserMapper extends BaseMapper<User> {
    // 查询所有用户
//    @Select("select * from user")
//    public List<User> find();
//
//    @Insert("insert into user values(#{id},#{username},#{password},#{birthday})")
//    public int insert(User user);

}
然后controller要注意修改
    @GetMapping("/user")
    public List query(){

        List<User> list = userMapper.selectList(null);
        System.out.println(list);
        return list;
    }
测试一下,成功

这里表名和数据结构的类名要保持一致,(会自动把大写转小写,因为mysql不区分大小写嘛)
如果不一致的话需要注解
注解 | MyBatis-Plus (baomidou.com)
@TableName("sys_user")
public class User {
    private Long id;
    private String name;
    private Integer age;
    private String email;
}
比如说上面这个User注解了一个@TableName("sys_user"),也就是说传入这个类名就会自动转为为与sys_user相关的操作
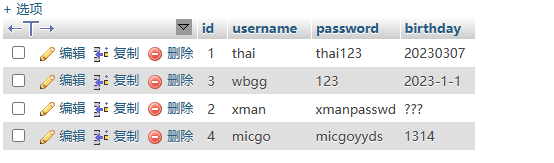
我们再试试插入
由于前面咱是没有设置主键和自增的,那么插入的时候没填写id就会乱,而用户又不可能知道id值,无法传输给后端,所以我们可以使用一个注解(注解 | MyBatis-Plus (baomidou.com))
@TableId(type = IdType.AUTO)完整数据结构如下
package com.example.demo_mysql.entity;

import com.baomidou.mybatisplus.annotation.IdType;
import com.baomidou.mybatisplus.annotation.TableId;

public class User {

    @TableId(type = IdType.AUTO)
    private int id;
    private String username;
    private String password;
    private String birthday;

    public int getId() {
        return id;
    }

    public void setId(int id) {
        this.id = id;
    }

    public String getUsername() {
        return username;
    }

    public void setUsername(String username) {
        this.username = username;
    }

    public String getPassword() {
        return password;
    }

    public void setPassword(String password) {
        this.password = password;
    }

    public String getBirthday() {
        return birthday;
    }

    public void setBirthday(String birthday) {
        this.birthday = birthday;
    }

    @Override
    public String toString() {
        return "User{" +
                "id=" + id +
                ", username='" + username + '\'' +
                ", password='" + password + '\'' +
                ", birthday='" + birthday + '\'' +
                '}';
    }
}
不过后面研究一下,发现单独设置注解--自增的话,数据表如果本身不自增也是无效的
所以我勾选了一下auto_increase,所以现在这个表是这样
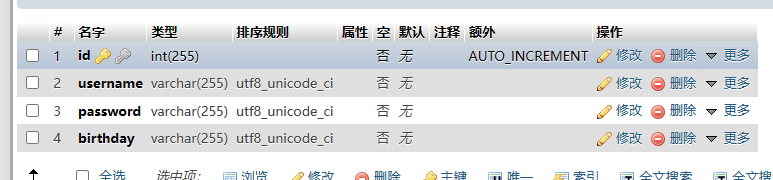
然后我们再测试一下

测试成功
有个细节:假如你使用了MyBatisPlus,并且数据表id自增的话,你若不传id进来,就必须设置注解IDtype.auto,否则id是0